


You generate an attractive office image, then realise there is no space for the headline. Cropping it to the required format removes the main subject. The problem began before generation: the image was created without a defined use.
AI image design starts with a purpose, composition and format, followed by generation, review and finishing. That helps the visual serve the content rather than forcing the message around an appealing picture.
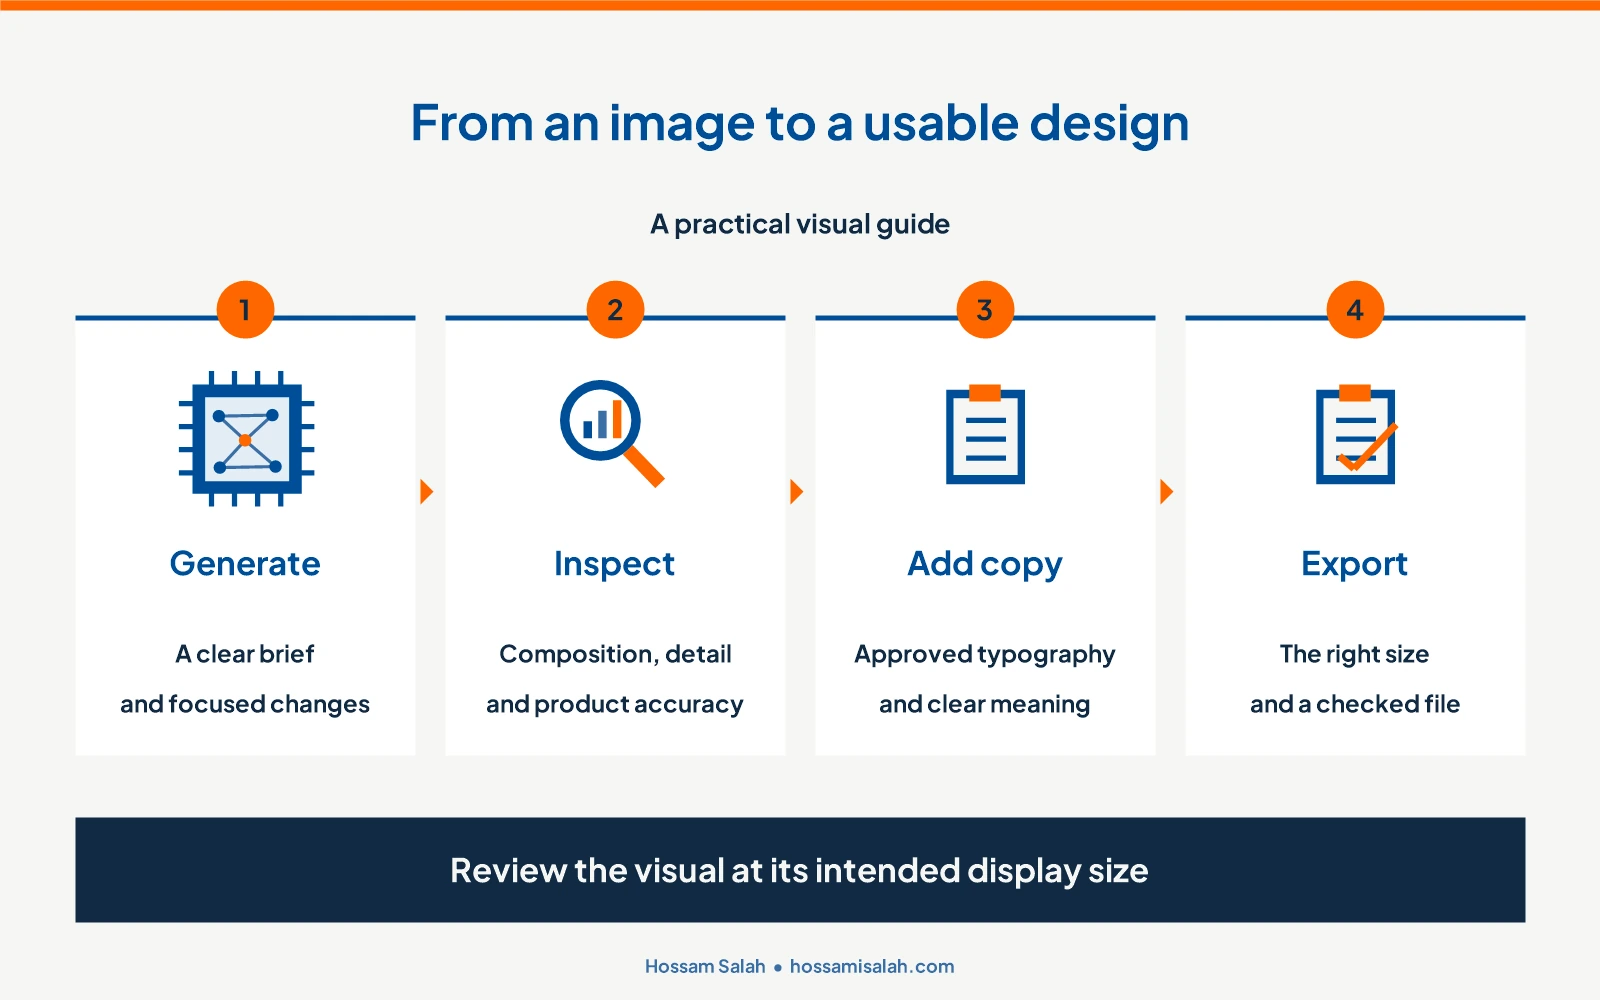
To design an AI image, define the objective, dimensions, subjects and space for copy. Generate from a clear description, inspect the details and finish the typography and brand treatment in a suitable editor.
On this page
A generated image and a finished design
An image can be a scene, background or element within a layout. The finished design combines it with copy, hierarchy, colour and the required format.
For a time-management post, you might generate a desk scene and add the headline separately. An editing stage lets you revise the wording without regenerating the entire scene, especially when approved typography matters.
Tools to review
Adobe Firefly offers text-to-image generation. Canva AI combines generation and editing features. Also review your existing assistant’s image capabilities before adding another subscription.Choose around the task: creating a scene, replacing a background or preparing an image inside an editable presentation. Test the actual workflow, as features, model terms and plans differ.
Write a visual brief first
State the message, destination and dimensions. Define the main subject, background, lighting and space needed for text.
For example, a planning visual might use a tidy desk and notebook with a quiet area for a headline. Filling the scene with many interesting objects can weaken the central idea.
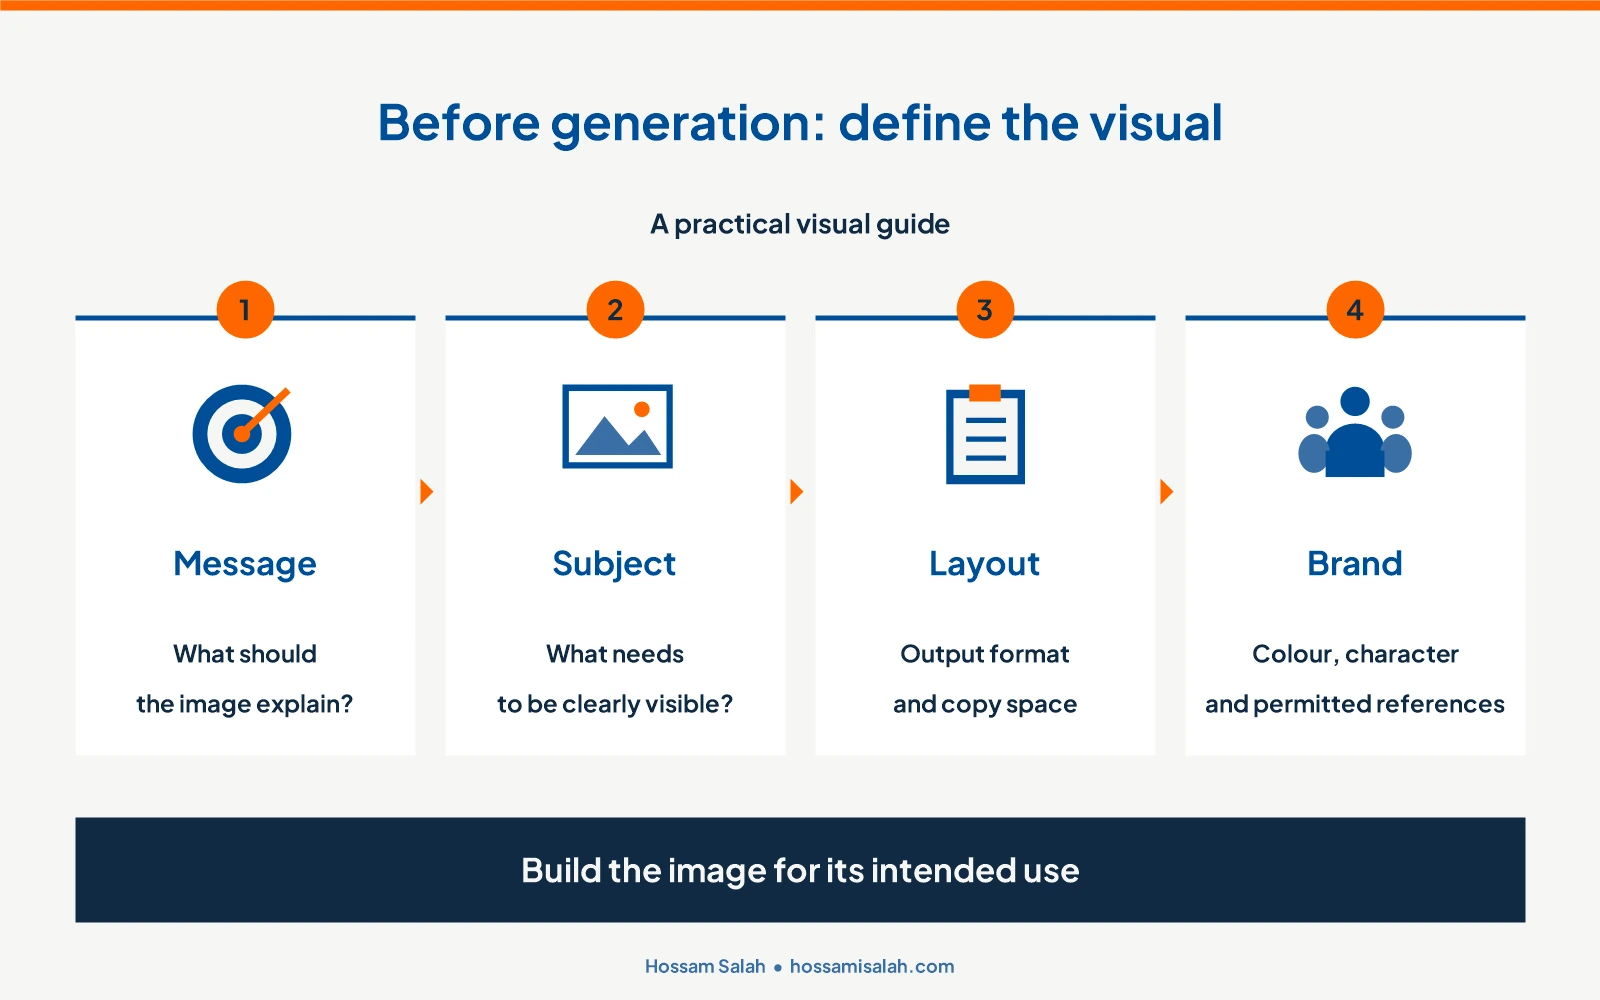
A practical prompt example
Create a simple editorial desk scene from a slightly elevated angle, with an open notebook, a pen and a closed laptop. Use a predominantly white background with restrained dark-blue and orange accents. Keep the objects on the right half and leave clear white space on the left for a headline added later. Soft natural lighting; no logos or writing inside the image. Horizontal 16:9 composition.
This practice prompt can be adapted to your intended design. Adapt the empty area to the actual reading direction and layout.
Change one variable at a time in follow-ups: copy space, camera angle or a distracting object. If every variable changes together, it becomes harder to identify what improved the result.
Using a reference image
Use a reference you have permission to use, and specify what should be retained: angle, colour, layout or a particular product. Uploading a reference does not guarantee that every detail will remain unchanged.
For product work, check the shape, colour, packaging, dimensions and logo after editing. A changed product detail needs correction before the image is used to sell. Keeping the real product photograph and changing only its background may be the better option.
Review composition and detail
First check where attention goes, whether copy fits and whether the crop works. Then inspect edges, shadows, reflections, text and physically implausible details.
Examine the image enlarged and at its intended size. A small defect may appear only when enlarged, while an important headline can disappear when reduced. Suitability depends on the final use.
Finish the text and brand treatment
Use the approved typeface and editable text where the deliverable requires it. Check contrast, letter shaping, spacing and the direction of mixed-language text.
Brand colours alone do not make an image appropriate. Its message and visual character also need to fit. The guide to brand identity and visual identity explains the broader distinction.
Commercial use and source rights
Review the terms for the actual provider, model and feature, together with reference-image rights. The Firefly FAQ and Canva AI terms are relevant starting points for those products.
Keep the prompt, source asset and approved output together. This makes later revisions and source checks easier, particularly when several people work on the same design.
Prepare the publishing file
Export at the required dimensions and retain an editable version where needed. For the web, balance clarity and file size, then open the exported file to check its text and colours.
If the image explains an article section, write alt text describing its contextual meaning and a caption when it adds useful information. Avoid turning the alt text into a keyword list.
Frequently asked questions
Should I prompt in Arabic or English?
Use the language in which you can describe the intended visual accurately, and test it in your chosen tool. Add a clear description or permitted reference when a technical term is ambiguous.
Why is an attractive image unsuitable?
Check the intended use, copy space and dimensions. The scene may have been selected before the final layout requirements were defined.
Can I generate the text inside the image?
You can try, but inspect it character by character. For strict typography and recurring revisions, a separate editor gives clearer control.
Try one application
Write one visual brief, generate an appropriate composition and add your headline in an editor. Compare the finished design with the objective you started with. Use the AI tools guide when selecting a workflow.